
My daughter has seen a commercial for a stuffed toy with a secret pocket several times this week. She really wanted to order one until I suggested we make our own.
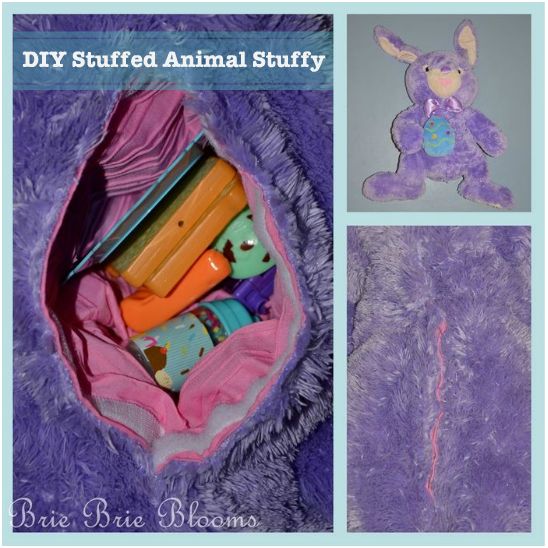
I told her we could use any stuffed animal she already owned. She chose her big Easter bunny from last year. She loves this bunny and I was flattered she trusted me enough to operate on him!

I started by cutting a long slit down the seam in the back of the bunny.

My daughter had fun pulling out some of the “bunny guts”.

We pulled about half of the stuffing out of the bunny.

Next I made a lining for the secret pocket. I cut fabric and velcro one inch longer than the slit in the bunny. The width of the fabric was the depth of the bunny’s tummy. I sewed the velcro along the edges of the rectangle piece of fabric.

Then I stitched up both sides to create a bag (with the velcro pieces properly facing each other).

I pinned the bag directly onto the slit in the bunny and used my sewing machine to stitch it in place.


I trimmed the furry edges around the bag and the project was finished.
My daughter packed a pretend picnic and ran off with the bunny to have a tea party with her dolls.


You can barely see the secret pocket in the back when it’s closed.

The bunny is going to preschool with my daughter for show and tell today. I wonder if she will tell her friends that her mommy made him.
I’m linking this post here.
That is so cool!
great idea to repurpose those stuffed animals that just sit in a corner nowadays :)Thanks!
If you made a mini pocket you could easily put a essential oil infused felt piece in there and have a therapy stuffy! I’m tempted to try it with my son’s lovey, but it would have to be tiny and I’m scared to ruin them.