
Paving Stone Installation
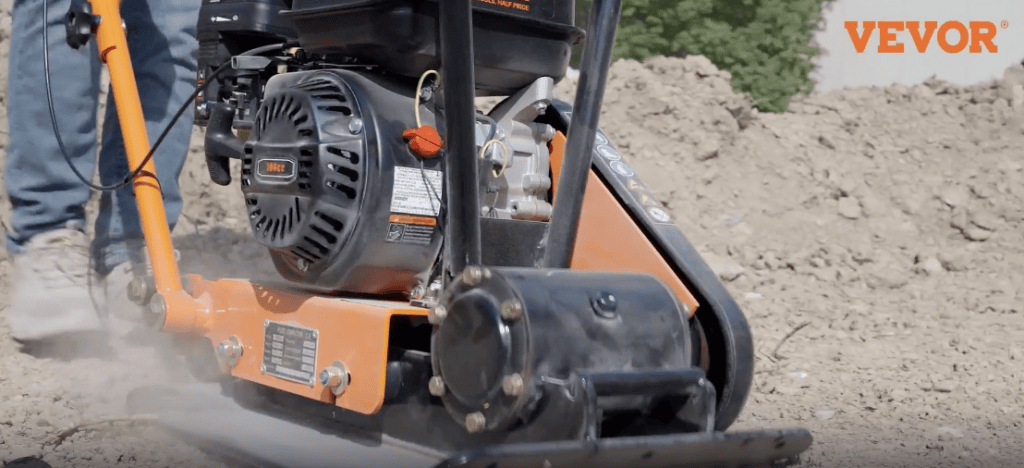
Paving stones shift, crack, and sink when the ground beneath them isn’t properly prepared. Most homeowners focus on the stones themselves, comparing colors, shapes, and patterns, but the real work that determines whether a patio or pathway lasts ten years or ten months happens underground. Getting the base compaction right is the single most important step in any paving project. It’s the one most DIYers underestimate.
Understanding Compaction Standards for Paving Stone Projects
How you’ll use the surface determines the right compaction level. A plate compactor is the standard tool for this job, and most contractors target a compaction rate of 95% to 98% of the soil’s maximum dry density for any surface that will carry foot traffic or vehicles. That figure comes from the Proctor compaction test, a standard soil assessment that measures how dense a material can become under controlled pressure.
For residential walkways and light-use patios, reaching 95% is generally acceptable. But areas with vehicle loads should reach 98% to prevent ruts and settlement over time. These aren’t soft targets. Even a few percentage points below your target can shift the base enough to crack grout lines, tip stones, or create low spots where water pools and accelerates freeze-thaw damage in colder climates.
How Many Passes Does It Take?
Your compaction target depends on what you’re compacting, the machine’s weight, and layer thickness. Compact base material (typically crushed stone or gravel) in lifts no deeper than 4 to 6 inches as a general rule. Each lift needs four to six passes from a plate compactor, with each pass overlapping the previous one by several inches.
After those passes, test the surface by pressing a screwdriver or rebar rod into it firmly. It shouldn’t penetrate more than a half inch if the base is properly compacted. A better approach is to rent or own a compaction gauge or use a nuclear densometer if you’re working on a larger project. Some contractors also do a simple “boot test”: walk the compacted surface and check whether it gives underfoot. Solid bases feel rigid, not spongy, and your footprint shouldn’t leave a visible impression.
The Right Base Depth Before You Compact
Before you power up a compactor, your base depth needs to be right. Standard foot-traffic paving stone areas need at least 4 to 6 inches of compacted crushed stone base below the bedding sand and stones. Areas that carry vehicle loads? That depth rises to 8 to 12 inches, sometimes more, depending on your soil type.
Clay soil compresses and shifts more than sandy soil, so projects built on clay may need a deeper base or a layer of geotextile fabric underneath to separate the native soil from the base material. Excavate to the correct depth before you start compacting. Add your base material in layers, compact each layer individually before adding the next, and don’t try to compact a single thick layer all at once. This is the most common reason paving projects fail within the first few years, especially in regions with cold winters where freeze-thaw cycles put repeated stress on any weak base.
What Happens When Compaction Falls Short
Inadequate compaction isn’t a minor issue you can fix later. Once the paving stones are down, getting access to the base means tearing the whole surface up. Poor compaction creates uneven settlement, which shows up as stones that rock or tip slightly underfoot, visible gaps in the joint sand, and water that drains toward the house instead of away from it.
Over a full season, those small movements compound. And stones shift laterally, edge restraints pull away from the base, and what started as a minor soft spot can become a visible depression across several square feet. In areas with vehicle weight, that settlement accelerates dramatically. A car parked on a poorly compacted section can sink the base by a quarter inch or more in a single summer.
Here’s the thing: uneven paving stones create trip hazards, which matters if you have children, elderly family members, or plan to sell the property. Getting compaction right the first time isn’t optional; it’s the foundation everything else builds on.
Soil Type Changes the Numbers
Not all soil behaves the same under a compactor, and understanding your specific conditions changes the approach. Sandy soils compact relatively easily and hold their density well once compacted. Clay soils are trickier: they can appear firm when dry but become plastic and unstable when wet, and they expand and contract with moisture changes far more than sandy or loamy soils.
So if your site has heavy clay, you may need to add a compactable base aggregate that’s 6 to 8 inches deep rather than the standard 4 to 6. Silty soils fall somewhere in between, but they’re prone to frost heave in northern climates, which can lift and rotate individual stones even when the initial compaction was done correctly. A geotextile separation layer between native soil and base aggregate is worth the extra cost in most of these scenarios; it prevents fine particles from migrating up into the base over time, which would degrade the compaction you worked to achieve.
Conclusion
Solid paving stone installation starts well below the surface. You need 95% to 98% compaction on a properly layered base, with depth ranging from 4 to 6 inches for light-use areas up to 8 to 12 inches for areas with vehicle loads, depending on soil type. Compact each layer in 4 to 6-inch lifts, run four to six passes per lift, and adjust your approach based on whether your base is sandy, silty, or clay. These steps are what separate a paving project that looks great for decades from one that needs repairs before the third winter arrives.