
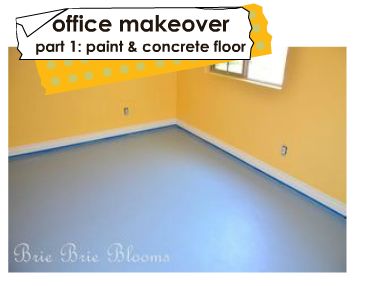
Last week I started the biggest piece of my office makeover plans. By Sunday evening I was completely finished and all the furniture had been put back into my office. I’m so happy with my new yellow walls and concrete floor!


I had a table in the room that wouldn’t fit through the door without being dismantled. I definitely should have completed that step prior to working on removing the carpet! I somehow managed to shift the table around in the room to get all the carpet and padding completely out.

Step 2: Remove carpet tack strips
I used a hammer and screwdriver to pry up the carpet tack strips. A few hours later and the room was free of all the boards!

Step 3: Remove carpet glue
This may have been the most difficult part of the project. I used a metal scraper and worked several hours Friday evening. I was back in the room with my scraper early Saturday morning and spent another few hours removing the glue.


Once all the glue had been removed I sanded the floor. Another time consuming and labor intensive task.

Step 4: Repair concrete
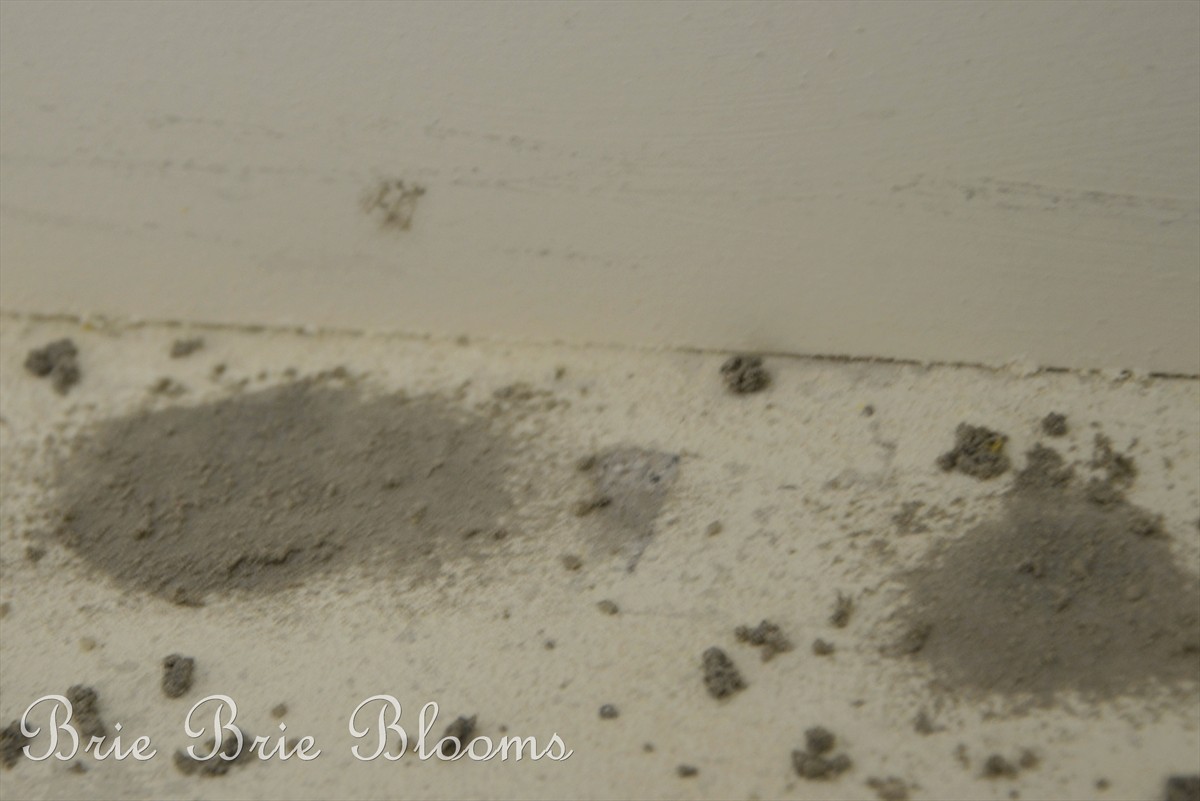
The nails in the concrete from the tack strips left big holes along the edge of the concrete floor. I used a concrete patching compound to fill in the holes.

It was my first time using the compound and, along with my handy three year old assistant, we spent an hour filling in all the holes. I didn’t bother completely smoothing the compound while it was wet because I was anxious to get all the holes filled. I figured I would be sanding the floor again before the painting process so it wouldn’t be a problem to smooth out the patches. Clearly I would not do it again that way. Take your time to completely smooth out the compound or you will be spending unnecessary time with sand paper later.
Another round with the sand paper and all the hard part was done.
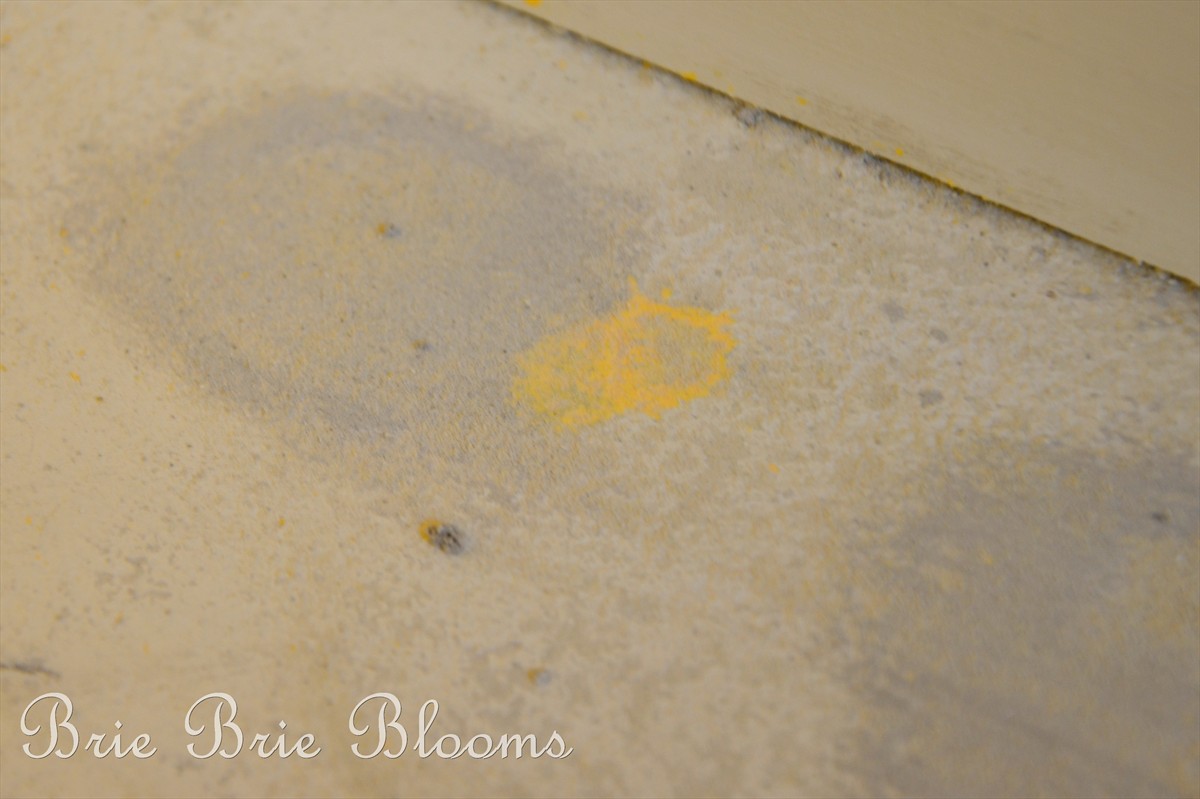
I vacuumed and mopped the floor twice before I was sure all the dust was gone. At this point I took a break from working on the floor and painted the walls with Valspar Picking Daisies.
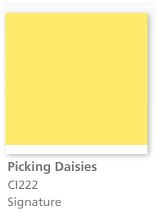
I love how bright it makes the space!
Step 5: Paint floor
You can completely remove your baseboards or just tape them with painters tape. I chose to simply use tape.

First I painted the edges around the entire room with two coats of the floor paint.

Painting the floor was easy and quick. I didn’t even use a paint tray. I just dumped the paint directly onto the floor and used a roller to smooth it out. I let the first coat dry for a couple of hours and then applied a second coat.
By Sunday evening I had all the furniture moved back into my office! I love the new walls and concrete floor!


I am so proud of the work I put into the floor and how pretty it looks. There is plenty more on my list of projects to get this room completely done but for now, I’m enjoying my new space.
I’m linking this post here.
Wow, that turned out great!
Great job Heather, it looks amazing!
Love it! I love the gray and yellow together. It will be so much easier to clean up than carpet. I think all the threads from my sewing are awful on my vacuum!
Nice job! That is a lot of work!
I can see you put alot of hard work and love into your new craft room/office. Enjoy it..I am still fighting my husband for the spare room, half way there but still fighting (must think of better tactics)hugs C
WOW! Hard work pays off! Can’t wait to see it all done. Am I an idiot for not knowing there was floor paint? My garage floor looks terrible, and now painting it is added to the list of To-Do! Thanks for the eye opener!
It looks great Sis, Sorry I was there to help but make a list and when I come home on leave we can knock it out if you want 🙂
I looks so great! What a good idea. The gray and yellow look really nice together.
Awesome! I’d love to get rid of the carpet in my office/craft room. It’s so easy for little project pieces to hide! Great job. Thanks so much for linking up at One Creative Weekend!
We did stain on our concrete floors, but if I had to do it again I would just go with paint!!! looks great!
That came out great! I can’t believe you sanded that by hand with sandpaper!
Love these so much I just featured them: http://trophyw.blogspot.com/2012/08/will-craft-for-fun-53.html